 |
The GEM 'n I Dobservatory Lat: 43º 12' N Lon: 79º 33' W
by Glenn Muller |
|
The GEM 'n I Dobservatory Lat: 43º 12' N Lon: 79º 33' W
by Glenn Muller |
|
The GEM 'n I Dobservatory is the latest in a series of backyard bases from which my wife, Gail Elizabeth Muller (G.E.M.), and I observe. Since first getting our scope, a dob-mounted 6" reflector, I have tried a number of configurations aimed at making our homebound sessions not only easier to set-up, and breakdown, but also more conducive to observing amid the inevitable neighbourhood light sources. |
|
|
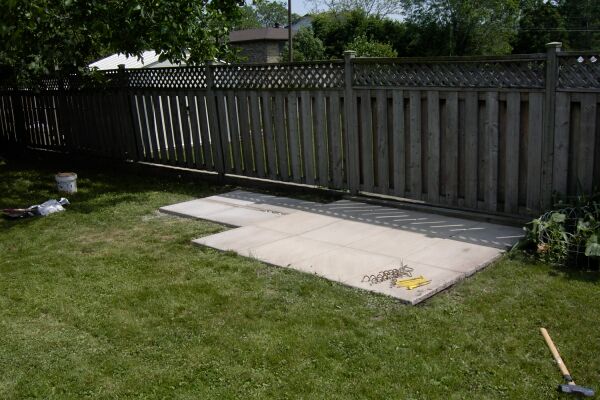
Our original observatory was a simple affair consisting of three circular patio slabs placed in the middle of the yard.
This spot appeared to offer the best panorama of the sky and the least interference from trees, rooftops, and streetlights |
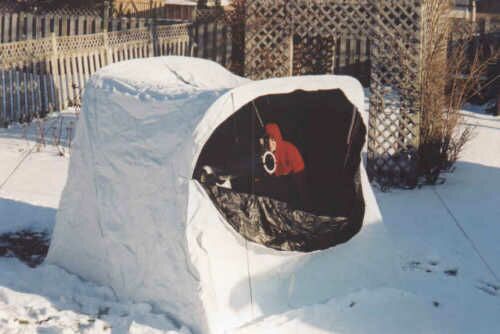
| The onset of winter, however, made us realize that it would be good to block the wind as well as the lights. A Christmas bonus provided the funds for this Kendrick Shelterdome.
Basically a tent, it's great as a temporary, portable, observatory but offers little protection for expensive equipment against really strong winds, or uninvited visitors to our yard. |
|
|
|
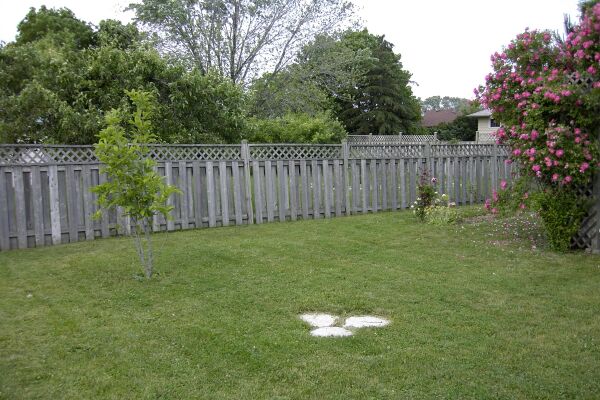
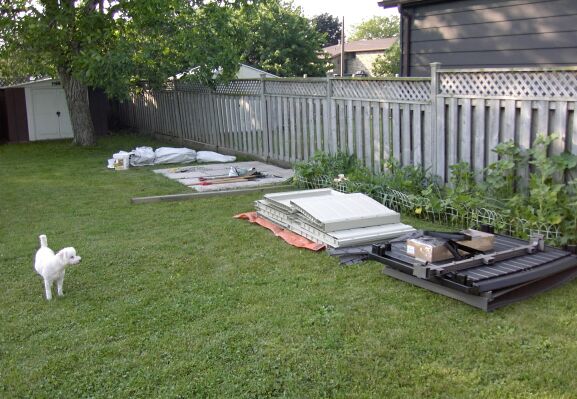
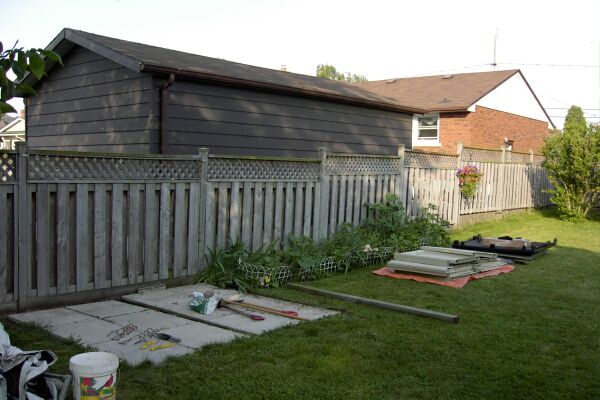
To get the Shelterdome out of the wind (and the middle of the yard so I could cut the grass) I made a larger base with a dozen 24" X 30" patio slabs.
With the neighbour's garage also acting as a wind and light buffer, this spot by the fence is unobtrusive and offers an excellent view to the South (though a little tree trimming might be in the schedule). In this picture you can see the folded Shelterdome lying by the patio slabs. With some large corkscrew anchors in the ground at the corners, and snap-clips on the tent straps, putting the tent up took less than two-minutes. Of course, we still had to bring all our stuff from the house in order to observe, and carry it all back in when we were done. |
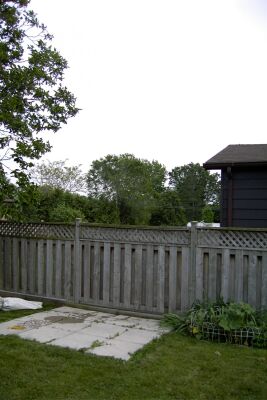
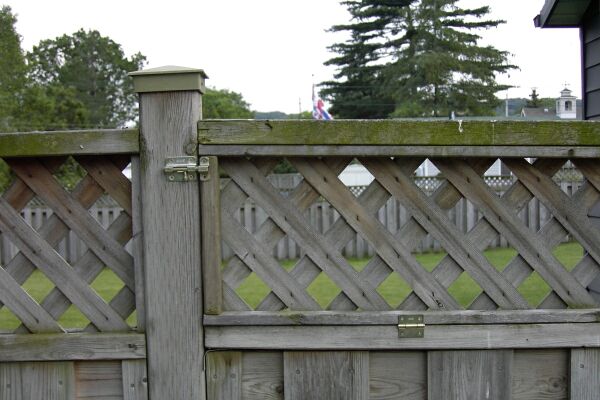
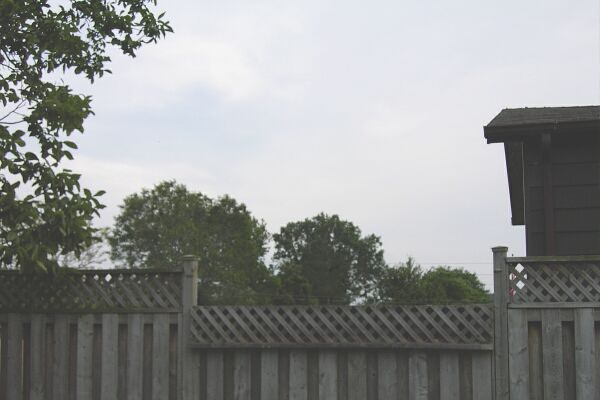
| Sagittarius does clear the treeline, here, though barely. To take advantage of horizon-hugging targets I modified the lattice part of this section of fence, with hinges and latches, to allow it to swing down when observing. |
|
|
|
Here is a shot of that section of fence in "observing mode". This feature would play a key role in the design of the new Dobservatory.
While a popular type of backyard observatory is the roll-off roof design, it occurred to me that the first thing an astronomer does when observing is to get rid of the roof. |
| Since our dobsonian-mounted scope (swivel base) doesn't need a permanent spot in the centre of the structure I realized that a small lockable shed, and three connecting walls without a roof, would suit my purpose very well.
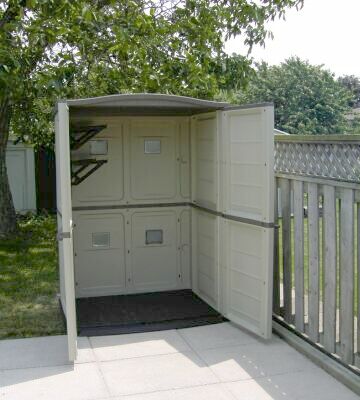
When Canadian Tire had just the right shed on sale, at 20% off, I knew the time had come to get serious about my design. Here, the resin shed pieces are inspected by the project's quality control officer.
|
|
|
|
Careful measurement showed that first I needed to shift the existing patio slabs 6" to the right - which was the perfect time to re-level them, also. Even when they're close to where they should be this is a strenuous task. I would add four more on the side to provide a base for the shed.
|
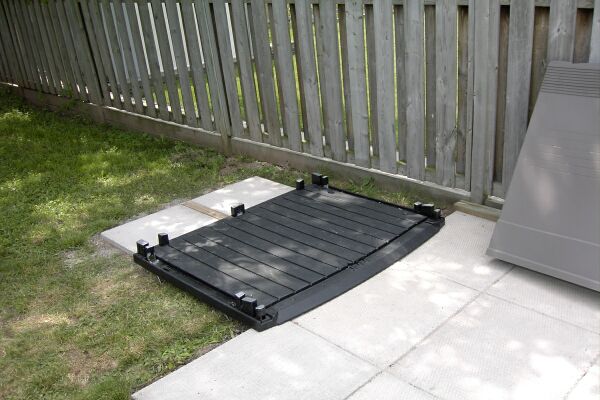
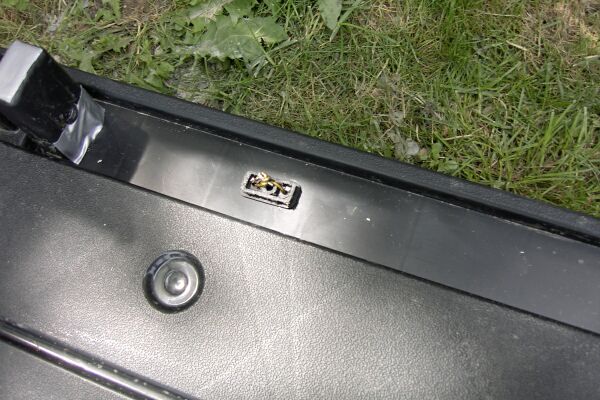
| With the observing base now in place, it's time to position the floor of the shed. Since the shed would not be supported on the sides, large steel corkscrew stakes would be used to anchor it to the ground. The pictures below show the floor with a close-up of the stiff wires attached to the stakes. |
|
|
|
|
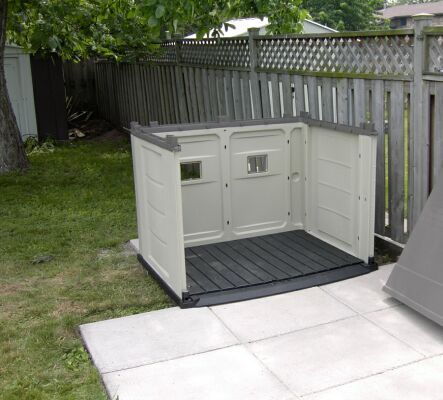
| With the base secure it was time to add the walls. A feature that sold me on this type of shed was that it all just snapped together. After plugging any holes that would attract insects it was just a matter of getting the pieces in the correct order.
Here you can see the squares in the back wall for vents, over which I also put some screen mesh. |
|
|
|
|
|
|
|
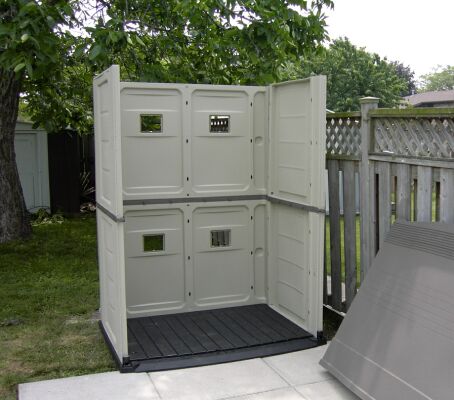
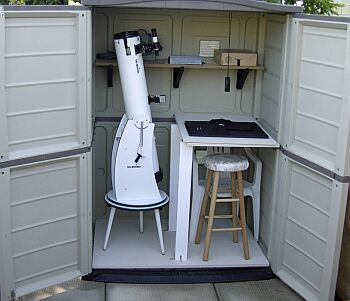
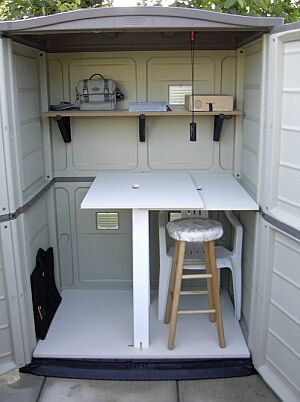
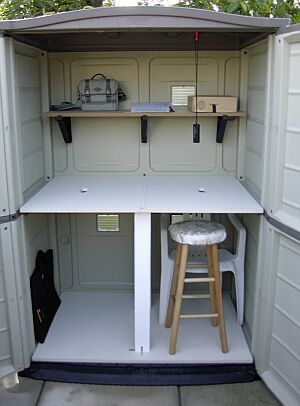
| With the shed now assembled I was curious to see how well everything would fit inside. I'd also had Home Depot cut wood for a worktable, a shelf, and a floor all of which would only require a little modification and a good coat of paint.
I designed the table to expand once the telescope is taken out of the shed. Here, the two table halves are "stacked" - the pictures below show how it expands to full width. |
|
|
|
|
|
|
The worktable is very sturdy, and at a good height for an observer standing, or sitting on the stool. The upper shelf is handy for keeping smaller items within reach. |
| When I prefer to use my Sky Atlas 2000, the table is wide enough to fully open the maps.
A small plastic clip suspends a red LED light from the ceiling to provide illumination for the map or just general use. |
|
|
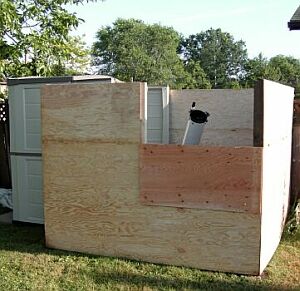
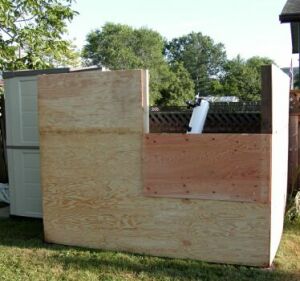
With the shed portion complete, it was time to assemble the observing pad walls. This was where a little miscalculation created a couple of hours of unnecessary work: I'd measured for the 8' sheets of wood from the bottom of the existing fence and realized I needed to move the patio slabs 3" closer to the fence. Just as I completed that job (in the mid-summer heat) I noticed that the fence had a 3" lean to it. This meant I would have to modify the fence connection, and that the patio slabs had been better placed when in their original spot. I now know that the rule "measure twice, cut once" somewhat applies to arranging 75lb patio slabs!
|
|
|
|
Anyway, in order to connect to the existing fence, I had to put in a "splint" to make up for the fence's 3" lean caused by the prevailing westerly winds.
Manually digging holes for the cornerposts, in Grimsby clay, wasn't easy either; but with some welcome help from Anthony Tekatch we soon had everything level after which the rest was fairly simple. |
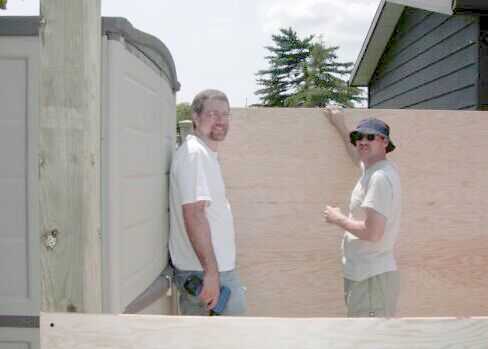
| Gail took this picture just as Anthony and I finished putting the hinges on the fence-side upper level. Anthony is the good-looking guy on the left. |
|
|
|
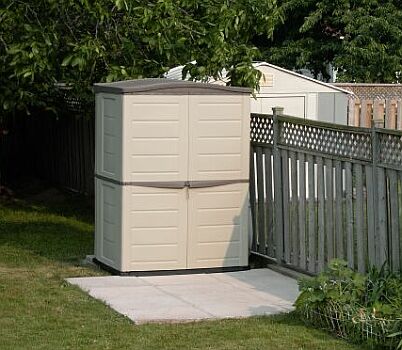
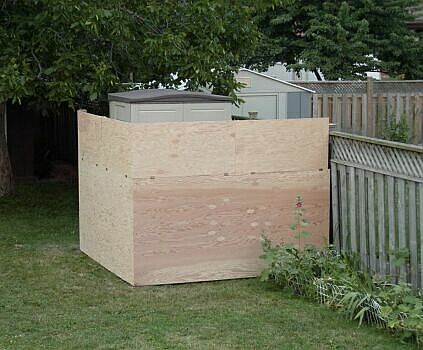
This is the entranceway which gets blocked off when the shed door is open. At ~ 8' x 8', the observing pad is quite spacious and the walls are just over 6' tall. Since I'm 5' 10" this keeps the streetlights out of my line of sight. |
|
|
|
|
|
|
|
|
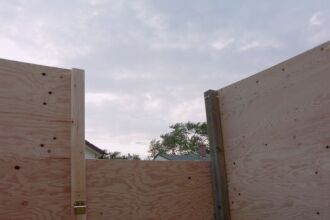
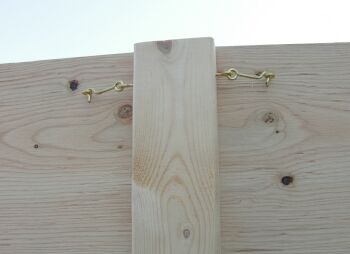
The center uprights are hinged so that when both flaps on one side are "down", the upright can also swing out of the way. Below, you can see the flaps and upright in the down position, and also the "hook and eye" catches that hold the flaps "up". |
|
|
<< The gap between the the walls and the patio slabs was closed off with rubber garden edging. |
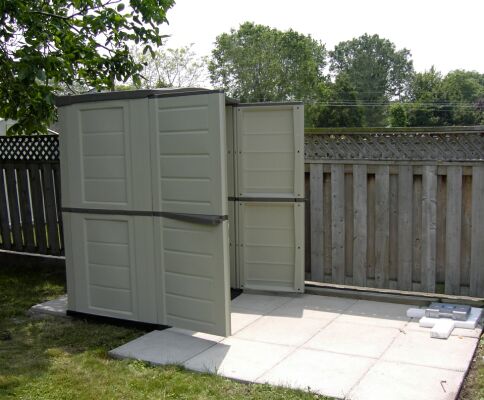
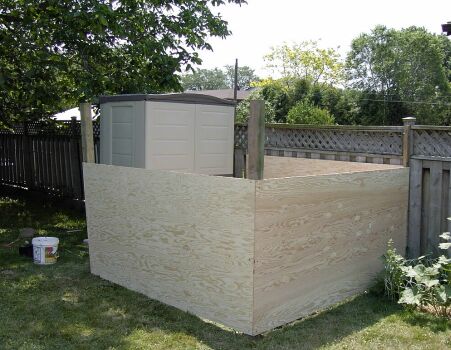
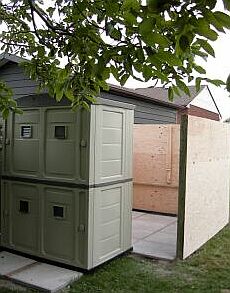
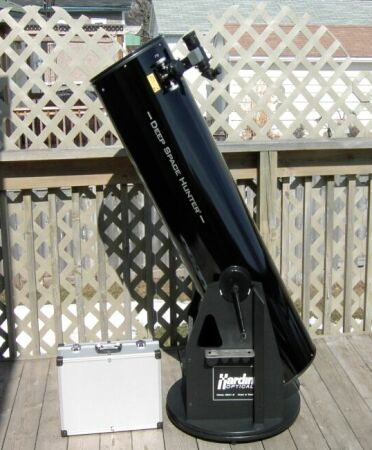
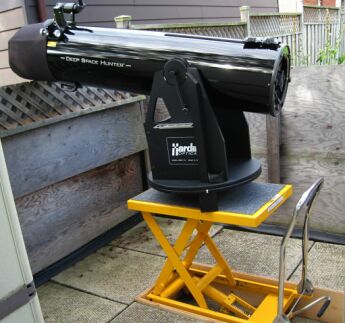
| Now, this design concept serves it's purpose very well, enabling us to observe, literally, at the drop of a hat. However, once we acquired a Hardin Optics 12" dob, the inner space of the shed became a little cramped.
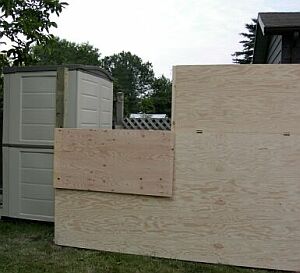
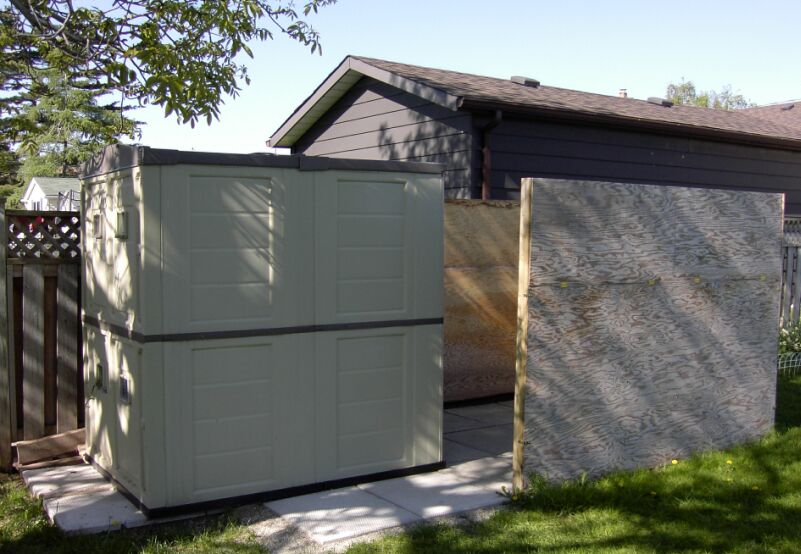
Luckily, the shed I had chosen was expandable so the solution was to add another section with a few more patio stones to support it. Below are the before and after shots: |
|
|
|
|
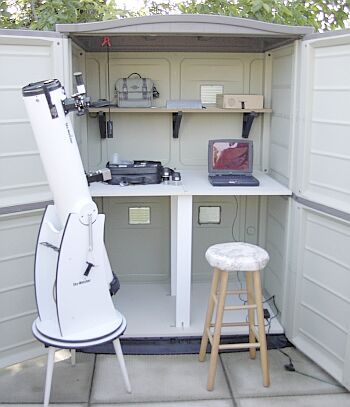
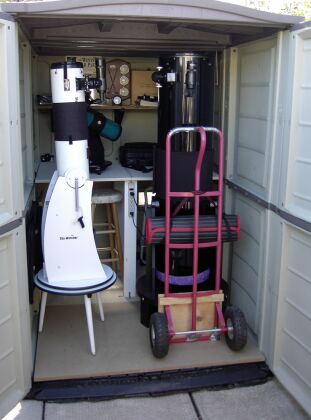
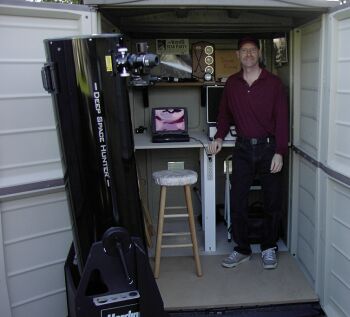
| With this upgrade, the table is permanently open at the back of the shed. There is room in front of it for both the 6" dob and the 12" dob, as well as the handcart that I use to move the 12" around with.
You can also see our Orion Starblast in the background, and on the tale support leg is the power bar for electrical hook-ups. I would also like to acknowledge Anthony Tekatch and Doug Welch of Unihedron.Com for their generous help in setting up the wireless internet and SQM--LE capabilities. |
|
|
|
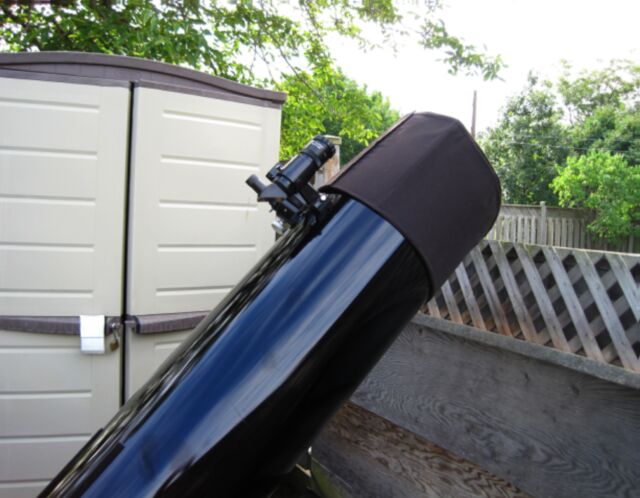
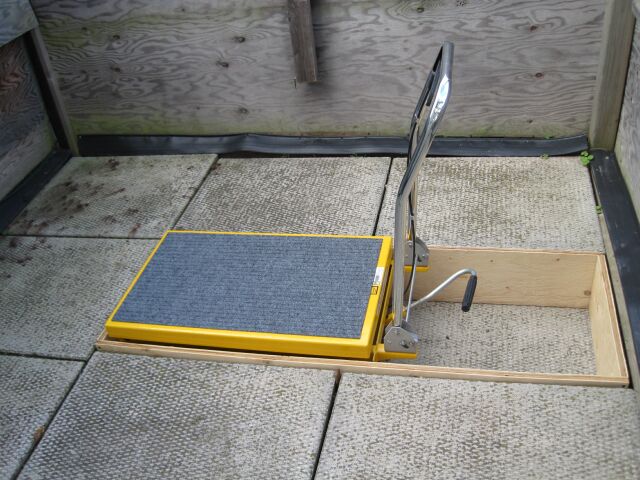
The one problem with the larger scope is that the base sits lower to the ground. Coupled with the height of the fence, even with the flap down, I was unable to view any object lower than about 50 degrees altitude.
The solution came in the form of a hydraulic table. Digging the pit was a bit of chore (again in the summer heat) but the result was well worth effort as I can now get down to the horizon. |
|
|
|
|
So that completes the tour of The GEM-'n-I-Dobservatory Cost of construction ~ $1,500 CDN + taxes. So far it has met or exceeded our expectations. We have done a lot more observing, in all seasons, thereby getting much more use and enjoyment out of our equipment. If you have questions or comments, feel free to e-mail us at: gmullers at primus.ca |
|
a backyard observatory, The GEM 'n I Dobservatory, dobservatory, astronomy observatory, amateur astronomy,